Presentation can be as essential as the gift itself regarding gift-giving. Adding a gorgeously crafted ribbon to your wrapped gift can elevate its appearance and make it even more special. But what if there is no ribbon on hand? Not to fear! Using wrapping paper, one can make their ribbon. This article will guide you through the creative process of making a ribbon from wrapping paper, allowing you to transform your presents into works of art.
What You Demand For Bow No. 1?
- Tape
- Wrapping Paper
- a pair of scissors
- Stapler
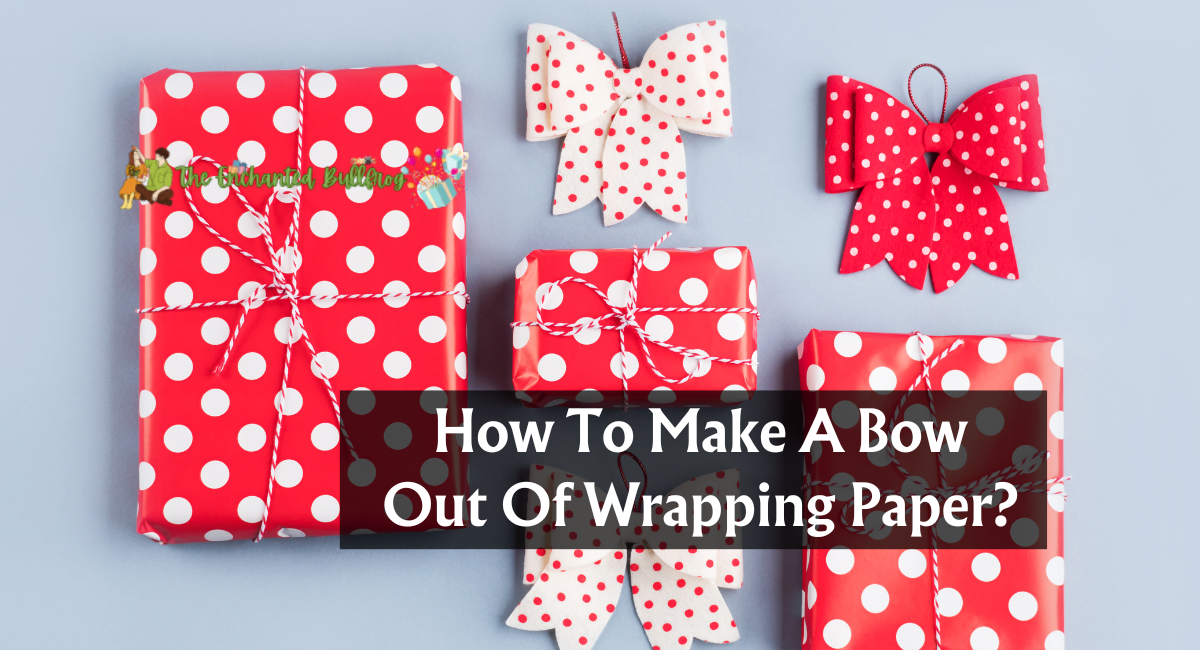
How To Make A Bow Out Of Wrapping Paper?
Here are the steps-by-steps instruction
- Step 1: Cut ten lengths of wrapping paper. For this bow, you cut 10 strips 12 inches long and 1 inch broad. Also required is a small strip approximately 6 inches long and 1 inch wide.
- Step 2: Convert your wrapping paper segments into loops by combining the ends. Think back to the time in kindergarten when you made paper chains. Utilize the same method for this phase.
- Step 3: Pinch the center of a closed loop. Then, grab a second loop and close its center with a pinch. Stack them on top of each other in an X pattern or a Cross. Take your stapler and join the two strands to resemble the image below.
- Step 4: Repeat step three until there are five Xs.
- Step 5: Stack the Xs in alternating directions on top of one another. Utilize your stapler to attach the five Xs with a single staple in the center.
- Step 6: Make a loop with the small portion you cut in the previous step. Attach the cord to the bow’s center with tape.
Optional Step 7:
- Take a long strip of wrapping paper.
- Fold it into a thin strip with nice edges.
- Simulate a ribbon by winding it around your gift.
Attach the ribbon to the present!!! BOOM! Super simple!!
How To Make A Simple Paper Bow?
Instead of using traditional ribbons this year, create paper bows. You can tailor each bow to any size, pattern, and texture to create the ideal gift embellishment.
Supplies needed
- Cardstock, wrapping paper, and felt.
- Double-sided tape
- Hot glue
- Scissors
Instructions
We will demonstrate how to make a wrapping paper bow with a few materials and these instructions. Personalize your handmade bow with decorative paper, felt, or embellishments such as glitter.
Step 1: Cut Out the Pattern
You can use felt or cardstock to make the bows; the same technique. Start by tracing and cutting out the bow pattern on the desired material. This technique works well with lightweight cardstock, wrapping, scrapbook, and craft felt. Because the bow folds over, you’ll need to work with a double-sided material; if you use patterned paper with only one printed side, the plain side will be visible.
Step 2: Attach The bow
Once the three bow portions have been cut out, it is time to begin assembly. The three-dimensional portion of the bow will be formed by folding the rounded pattern piece so that each end meets in the center. Using a hot glue gun, affix this felt area if it is present. You can use hot glue to create a paper bow, but double-sided tape will also do the task. You must press the center of the bow forcefully to ensure it sticks.
Step 3: Finish The bow
Attach the rounded upper portion of your bow to the angular lower part using hot glue or double-sided tape after allowing it to cure if you use hot glue. Then, position the tiny rectangular piece vertically in the middle of the bow loops. Fold each edge over so the two ends meet in the back, then secure with additional glue or tape, depending on your adhesive. When the adhesive has dried, the bow can be styled.
Wrapping A Paper Bow: Tips And Tricks
- Use double-sided wrapping paper if you don’t want white to appear on your bows. This paper is also typically more durable, making it ideal for the bow.
- Experiment with different sizes after following the above tutorials to create paper bouquets. For the fringe bow and the curly bow, it is recommended to trim the initial strip of wrapping paper in half; otherwise, the bubble may appear unkempt.
- Due to their durability, paper bows are ideal for constructing enormous bubbles. If you need a massive bow for a gift, consider using wrapping paper.
- Consider using glittered or foiled paper to add extra pizzazz to your gifts. It also makes them appear gorgeous and sparkling when illuminated by the tree’s lights.
- We’ll recommend using binder clips along the upper edge of foil wrapping paper to prevent the bites from shifting while cutting.
Why Make Your Ribbon For Wrapping Paper?
Creating your ribbon from wrapping paper offers some benefits:
1. Cost-Efficient
Creating your ribbon is more cost-effective than purchasing pre-made ribbons or knots. It enables you to maximize your wrapping paper usage.
2. Customization
By using wrapping paper that matches the gift or occasion, you can customize the appearance of the ribbon to match your style or theme.
3. Eco-Friendly
Making your ribbon out of packaging paper is an environmentally responsible choice. It reduces waste and encourages recycling by reusing existing materials.
4. Personal Touch
Adding handmade ribbons to your gifts demonstrates your effort and concern in the presentation.
Creating a ribbon from wrapping paper is a charming and environmentally responsible way to enhance the gift-giving experience. With a few simple supplies and a dash of imagination, you can transform ordinary wrapping paper into a gorgeous ribbon that adds elegance and charm to your gifts.
Thank you for reading……