Do you feel guilty about discarding the beautiful greeting cards that others send you? Transform them into small gift baskets and return them to the world. It takes only one card and some folding to create a box with a lid containing jewelry or another small gift. Repurpose your discarded Christmas and birthday cards. So, how to make a box out of a christmas card?
It is a fantastic way to recycle old greeting cards and create tiny gift boxes (or containers for small objects). This box differs from an origami box in that it has a top and bottom. It requires only a few essential tools and materials, and the outcome is charming and environmentally friendly.
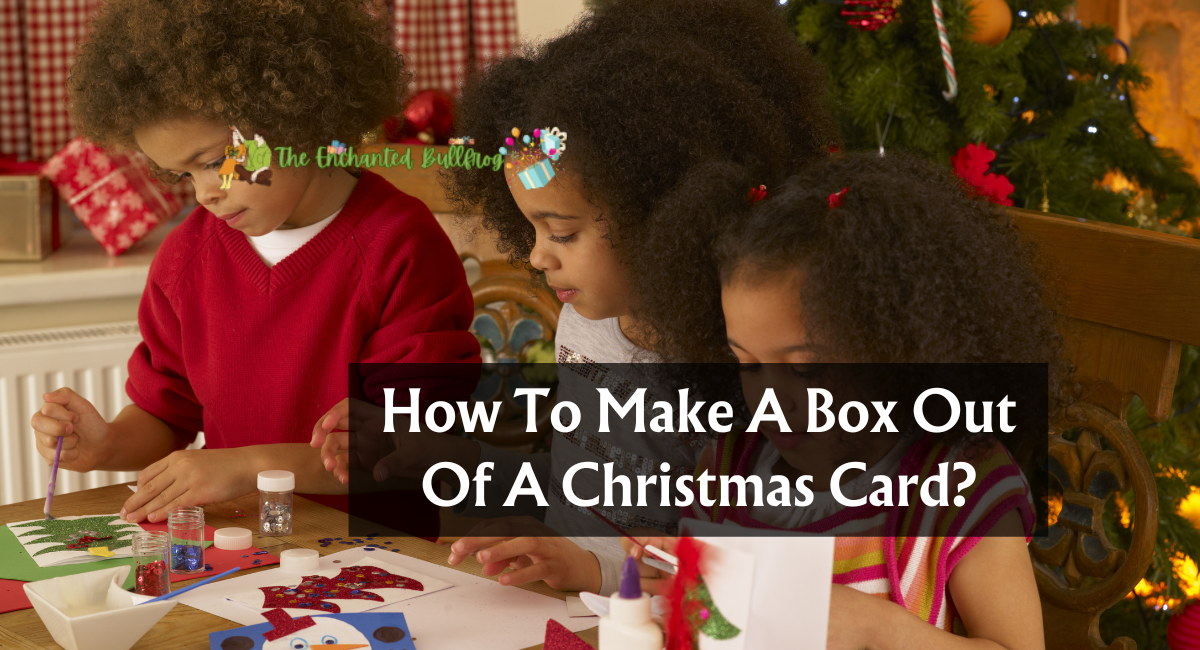
Crafting A Greeting Card Box
As the holiday season approaches, we exchange Christmas cards with our loved ones yearly. These cards contain messages of affection, happiness, and best wishes. While these sentiments are precious, the cards often wind up in a drawer, forgotten after the holidays. Therefore, collect your old Christmas cards, and let’s get creative!
Material Needed
Before we begin the manufacturing process, let’s collect the necessary materials for this project:
- Christmas cards: Collect various Christmas cards with colorful designs and heartfelt messages.
- Scissors or a craft knife: Scissors or a craft knife are required for precise trimming.
- Ruler: Used to guarantee clean lines.
- Pencil: To indicate your measurements, use a pencil.
- Glue or double-sided tape: To secure the package, glue or double-sided tape is utilized.
- Ribbon or twine (optional): As a decorative touch, ribbon or twine are optional.
- Decorative elements (optional): Stickers, markers, or embellishments for personalization may be included as decorative elements.
- Cardboard (optional): To reinforce the package.
Directions
Here are the steps for making a box of a Christmas card:
Step 1: Choose Your Christmas Card
Select the Christmas card that you will transform into a box. Consider cards with attractive designs, colors, or sentimental significance.
The front of the card will serve as the box’s lid, so select one that you find incredibly alluring. It may be a card from someone special or one with a design that speaks to you.
Step 2: Preparation Of The Card
Place the card on a flat, clear surface. Using a ruler and pencil, indicate the dimensions of the box. Generally, a 6×4-inch or 5×7-inch card is suitable for a small gift box, but you can modify the measurements to your liking.
Mark 1.5 inches from each edge on the top and bottom of the card and 1 inch from each edge on the sides for a 6×4-inch box. Mark 2 inches from each edge on the top and bottom of a 5×7-inch box and 1.5 inches from each edge on the sides.
Step 3: Cut And Fold
Cut along the marked lines with scissors or a craft knife to eliminate the excess card. It will result in a rectangular portion serving as the box’s bottom.
Next, score the card along the designated folding lines. Scoring facilitates the card’s orderly folding. Fold the card carefully along the scored lines to construct the box’s walls.
Step 4: secure The Edges.
Now that the card has been folded into a box shape, it is time to secure the edges. Apply adhesive or double-sided tape to the inner surfaces of the flaps, and then press them firmly against the adjacent sides to form the box’s corners.
Hold them for a few seconds to ensure a strong connection. Repeat this procedure for each corner.
Step 5: Reinforce
If you want to increase the durability of your box, you can cut four tiny strips of cardboard and glue or double-sided tape them to the inside corners.
This reinforcement will make your box stronger and capable of carrying heavier objects.
Step 6: Create The Lid
Use the remaining portion of the Christmas card to construct the lid for your box. Cut a rectangle with the exact dimensions as the base of the box.
If you desire a snug fit, make the top marginally more significant than the container’s base. Fold the cover like the base, scoring along the folding lines and adhering or taping the corners.
Step 7: Decorate And Personalize
Now that you have the box and lid, it’s time to get creative. You can customize your box by adding decals, markers, or other decorative elements.
Take wrapping the box with a ribbon or twine and tying a bow for an elegant accent. This step enables you to personalize and individualize each box for its recipient.
Step 8: Fill Your Gift Box With Love
Your Christmas card box is now prepared to receive offerings of affection and thoughtfulness.
Whether it’s a small piece of jewelry, a sincere letter, or some homemade treats, the contents of a handmade box made from a cherished Christmas card will make the gift even more meaningful.
Repurposing Christmas cards into beautiful boxes is an eco-friendly and meaningful way to extend the holiday sentiment beyond the season. It enables you to transform sentimental greeting cards into proper and personalized keepsake containers or gifts. This do-it-yourself endeavor reduces waste and allows you to demonstrate your creativity and consideration. Therefore, the next time you receive a heartfelt Christmas card, do not simply file it away; create something unique you can cherish for years. Craft your memories into gorgeous boxes, and delight your loved ones with handmade gifts.
Thank you for reading….