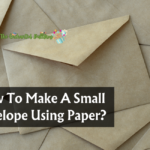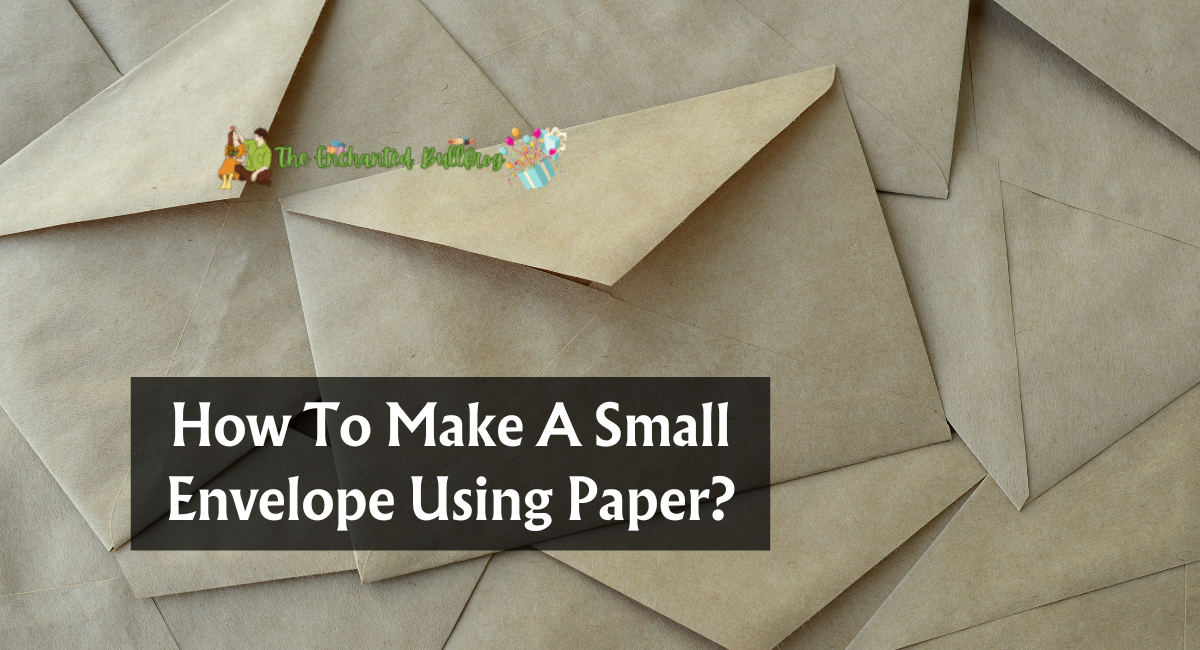
In today’s digital world, where emails and text messages dominate communication, receiving a handwritten letter or a thoughtful note in a carefully crafted envelope feels immensely special. So, how to make a small envelope using paper?
Small paper envelopes provide a personal touch that digital communications cannot replicate. Whether you want to create distinctive gift card holders or send a loved one a heartfelt letter, learning how to make tiny paper envelopes is a delightful and creative skill to acquire.
This article will discuss how to create personalized small envelopes from the start. After this tutorial, you can create beautiful envelopes with heartfelt notes, small gifts, or anything else you can envision.
Materials Needed
Before we begin the creative process, let’s collect the necessary supplies for making small enclosures out of paper:
- Decorative Paper Or Cardstock: Choose decorative paper or cardstock that reflects your taste and the event. This paper will function as the envelope’s exterior layer.
- Scissors: You will need sharp scissors to make clear and precise cuts.
- Ruler: A ruler enables precise measurement and the creation of straight lines.
- Pencil: A pencil helps mark and guide your folding and cuts.
- Glue Stick Or Double-Sided Tape: Adhesive will be used to secure the envelope flaps.
- Decorative Elements (Optional): Consider using decals, washi tape, rubber stamps, and other decorative elements to add a personal touch.
Now that you have all the necessary materials let’s begin constructing your personalized small envelopes.
Instructions For Making Small Envelopes
Follow these straightforward methods to create charming small paper envelopes:
Step 1: Choose Your Decorative Paper
Choose the decorative paper or cardstock for your envelopes as your first step. Consider the event and your style when selecting a pattern or color. A standard page measuring 8.5 x 11 inches is suitable for making small envelopes.
Step 2: Measure And Cut
Place the decorative paper on a clear, flat surface. Draw and measure a square on the form using a ruler and pencil. The standard size for small envelopes is 6 x 6 inches, but feel free to modify the dimensions. After you’ve marked your square, cut it out carefully with scissors.
Step 3: Create Folding Lines
Now that your envelope’s square has been cut out, it is time to construct its folding lines. Begin by diagonally folding the square in half to create a triangle. Finally, unroll it. The creases have now formed an “X” to function as the folding guides.
Step 4: Fold The Sides
Now, align the bottom edge of the triangle with the intersection of the diagonal pleats and fold it up toward the center of the triangle. This pleat produces a smaller triangle topped by a rectangular flap.
Step 5: Fold Down The Flap
Fold the rectangular flap over the folded triangle to completely conceal the triangle. This flap serves as the envelope’s upper closure.
Step 6: Apply Adhesive
Add a thin, even layer of glue or double-sided tape along the inside margins of the side flaps. Then, fold the side panels in, slightly overlapping them, and press firmly to maintain the envelope’s shape.
Step 7: Allow It To Dry
Allow your envelope to dry completely for a few moments. It ensures that it retains its form and remains tightly sealed.
Step 8: Personalize Your Envelope (Optional)
Personalizing your envelope is now the enjoyable part! You can embellish the envelope with decals, washi tape, rubber stamps, or hand-drawn designs to personalize it.
Your small personalized envelope is now prepared to contain your handwritten notes, small gifts, and other surprises.
Tips For Crafting Perfect Small Envelopes
Consider the following strategies to ensure that your small envelopes are beautifully presented:
- Experiment With Sizes: Don’t be afraid to experiment with various square sizes to construct envelopes that meet your needs.
- Coordinate With The Theme: For a unified appearance, coordinate the paper and decorations with the occasion or theme of your message or gift.
- Practice Your Folds: Before using your decorative sheet, practice your folding technique on spare paper if you are new to paper crafting.
- Utilize Quality Adhesive: Ensure your envelope remains sealed using an adhesive stick or double-sided tape of superior quality.
- Add A Personal Touch: Include a sincere note or a small surprise inside the envelope to make it extra special.
Paper envelope-making is a fun and creative activity and a significant method to add a personal touch to your correspondence and gift-giving. Whether the recipient receives a handwritten letter, a mini gift card, or a small token of devotion, your handcrafted envelope will enhance the experience. Therefore, immediately collect your supplies, unleash your imagination, and craft your personalized small envelopes. It is a skill that will bring you and those who receive your gorgeously crafted envelopes happiness.
Thank you reading….