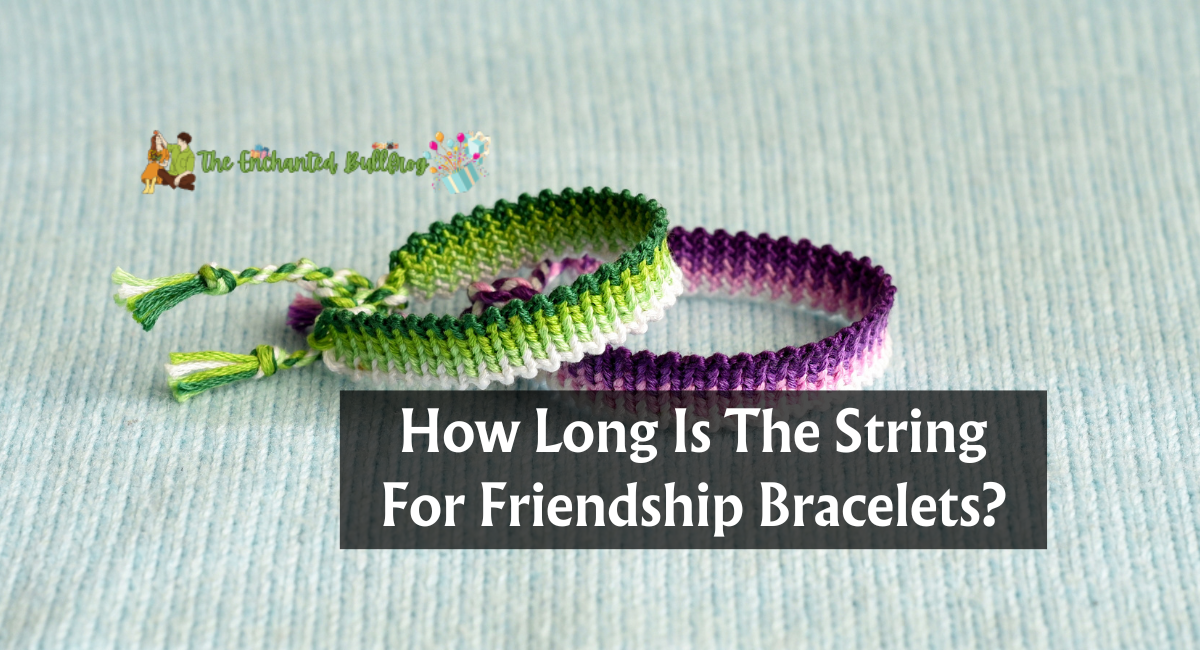
Friendship bracelets are an excellent craft that you can carry anywhere. They are handy for individuals who have repeatedly failed at learning to knit and crochet. In addition, learning how to make a friendship bracelet is one of those summer camp rituals of passage, so this may be similar to learning how to ride a bike again. So, how long is the string for friendship bracelets?
To create a friendship bracelet, all you need is embroidery floss! In this Instructable, I will demonstrate how to make the most fundamental type of friendship bracelet: the candy stripe!
You can make them as thick or thin as you like, and it takes less than an hour to learn how to create a friendship bracelet. You will also increase in speed as you progress!
Friendship Bracelets
Making friendship bracelets is an enjoyable do-it-yourself craft because it is simple to learn, portable, and easy to share with friends. Undoubtedly, this is one of those “rites of passage” activities we all participate in at sleepovers and summer programs. Additionally, matching bracelets make excellent gifts for closest friends!
Gather Your Supplies For Friendship Bracelets
You don’t need much to begin creating amusing friendship bracelets. You only need embroidery threads and something to steady the Bracelet while you tie the knots. Here are some of our most trusted supplies:
- Embroidery floss or string
- a clipboard, a safety pin, and some masking tape
- Optional letter beads or charms
To simplify things, you could also purchase a friendship bracelet kit.
Make Of Friendship Bracelets String
The most suitable thread for friendship bracelets is embroidery floss. Embroidery floss is a six-stranded, silky cotton thread with a faint sheen. It is available in various hues, including neons and metallics. Popular embroidery floss brands include DMC, Anchor, and J&P Coats.
1. Measuring + Cutting The String
The general norm is to cut pieces of floss to the length between your fingertips and shoulder; for me, this is approximately 30 inches. I attempted 25 with the first one, and it barely made it.
My wrists are roughly 6 inches in circumference, so let’s measure yours and multiply by 5 to be cautious. You want to avoid running out of floss after tying so many knots and being unable to complete the project.
If you intend to make a bracelet with more than six strands, add 6 inches! You will tie other knots with each row and progress through each color slightly faster.
2. Determining The Number Of Strands
I’ve worked with only eight strands at a time. You usually choose six – six is ideal for me, as they are petite yet detailed and measure between 1/8 and 1/3 of an inch.
Remember that more significant numbers of strands are more challenging to keep track of, and the Bracelet can become slightly warped with more strands, so you’ll need to block it (see the final step for instructions) if you want it to lie flat.
Depending on your pattern’s look, you can use two alternating colors or a distinct color for each strand. Positive or negative.
3. How To start The Bracelet
Begin the Bracelet by tying an overhand knot in one end of the cut embroidery floss strands.
Attach this knot to a tabletop, trousers, or a pillow, and braid three inches below it. After completing the braid, tie a second overhand knot at the bottom of the plait.
And now, we have reached the exciting part!
(And just so everyone is aware, each completed Bracelet will have 3 inches of braiding on each end (for a total of 6 inches) and 3 to 4 inches of knotting.)
4. Start The Knotting
A friendship bracelet’s ridged, woven-looking surface is created by tying numerous tiny knots.
The first step is to determine the order of your strands. It will pick the order of your sections’ colors.
Once they are organized, seize the first two strands. The filament furthest to the left will form the first row. To accomplish this, you will tie it around the other strands of floss/yarn.
As shown in the image, pass the first strand over the second strand and then behind it. Tying the knot OVER the double strand is essential, as this will give the desired appearance.
Now, while maintaining tension on the second strand, draw the first strand up and towards the large knot. Pull until you encounter resistance, but no further! It will result in a coil being formed on the second strand.
Make another knot by re-tying the first strand around the second strand; repeat the previous step!
Continue moving across to the right, using the first strand to construct two knots on each strand of floss/yarn in the Bracelet.
Once you’ve knotted across to the right and reached the final strand of floss/yarn, start again with the first strand on the left. Ensure that you tie TWO knots on each strand.
Continue until 3 to 4 inches of knotting have been completed.
5. How It Will Look As You Go
Work your way across with whatever color is on the left, tying two knots at the end of each strand on the right. The color you’ve just completed carrying to the right will always hang off to the side, which will help let you know when you’ve finished a row.
If you miss a strand or need to remember to complete a row, it should be simple to identify. It’s a good idea to keep a needle handy to help you pick out knots if you make a mistake; they’re so small that it’s challenging to do with your fingertips!
6. How To Finish The Bracelet
Once you’ve completed 3 to 4 inches of knotting, you can finalize your Bracelet.
Make a second overhand knot at the end of the Bracelet’s primary section. From the knot, braid three inches before tying again.
Remove the excess thread/yarn from both ends of the Bracelet. Now it’s over!
7. Tie It On!
Braiding it in this manner will be straightforward to tie and unwind. And you’ll be capable of doing it on your own.:D
No more wearing them in the shower and meandering around for hours with wet bracelets! (I vow that this was always the case when I made them as a child or when a friend tied one on for me. There was no way to remove them. Either you wore them, or you cut them off and destroyed them.
8. Additional Stuffs
If you have tightly knotted your Bracelet, it may become slightly crinkled. You can prevent this by pinning or taping it to a horizontal surface. Ensure that it is drawn tautly.
Spray it with a substantial quantity of water (saturate it!) and let it dry in this manner. It is known as “blocking” and will help it lie flat.
Depending on the Bracelet’s intended size and design, the string length for friendship bracelets varies. A string of 150 centimeters (60 inches) is a suitable starting point for a standard bracelet. However, intricate patterns or specific wrist sizes may require longer or shorter strings, so adjust as necessary for your endeavor.
Thank you for reading……