Gift boxes are beneficial throughout the year, regardless of the holiday season. Consequently, we created a paper gift box tutorial for you folks! Learn today how to make origami boxes with us. Are you looking for a how to make a paper box with a lid?
These simple origami gift cases are an excellent starting point. I’ve been making them for years, and they always elevate the appearance of a straightforward gift.
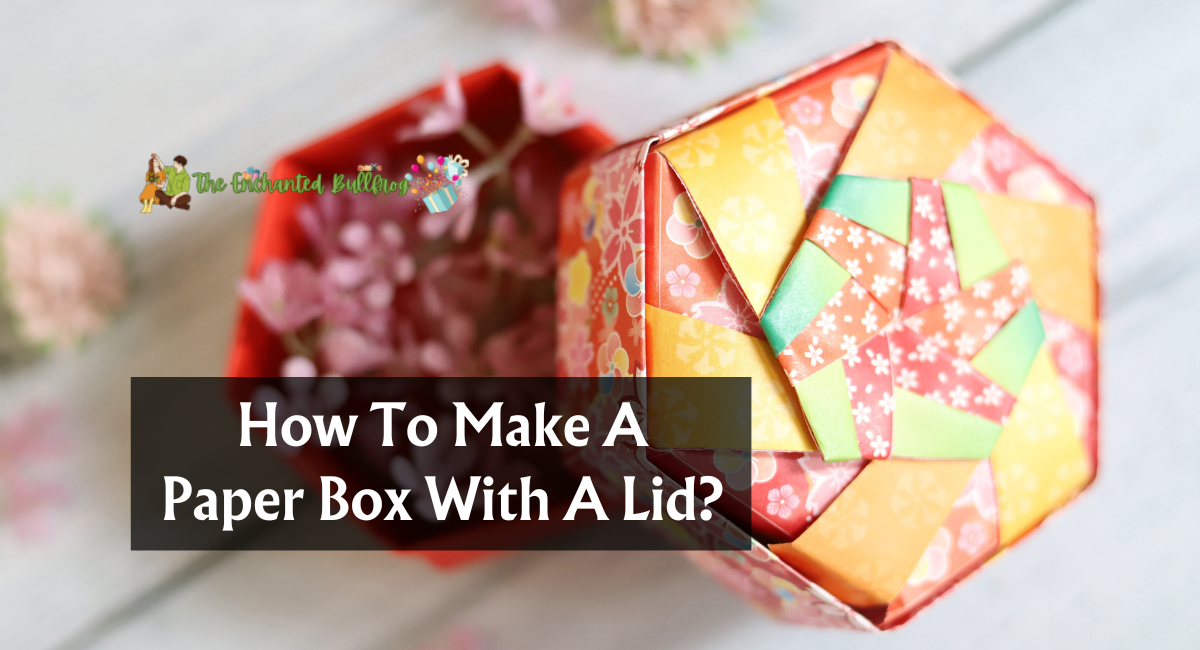
They are masu boxes, also known as traditional origami boxes. Originally a square wooden box used to measure rice, you can use this miniature paper version to contain small trinkets or sweets as a gift box.
Things You’ll Need
- Tools
- These 3 crafts require no equipment.
- Materials
- colored paper for crafts or origami sheets
Paper Box Instructions
How to Make a Box with a Lid?
Step-1: Base Folds And Creases
Prepare a square paper for simple half folds (diagonal and vertical-horizontal folds). Unfold so the half-fold creases can be seen. Bring any of the sheet’s corners to the center of the square sheet.
Fold the remaining corners to the center one by one. Now, maintain the corner folds and fold any side of the current paper along the center line.
Step-2: Base Folds And Creases
Additionally, fold the opposite side of the paper along the center line. Unfold the two side pleats and repeat with the other two sides. Also, fold them out.
Unfold any two adjacent corner pleats to create corner flaps. Now, the foundation folds are complete.
Step 3: Forming The Side
Fold the two opposing sides (of the folded corners) upwards. Fold any two diagonal creases on the same side inwards.
Bring the diagonal folds to 90 degrees and fold the box from this side. Now, tuck in that side’s corner flap.
Step 4: Forming The Paper Box
Align the triangle end of the corner cover with the bottom of the box. Form the opposing side of the origami box similarly.
Now, select a second sheet of paper for the lid. Follow the first steps of the origami box, but align the sides slightly away from the middle line when aligning them with the central line; this will make the lid slightly larger than the box.
Step 5: Crafting The Lid
Fold each of the four sides to create the side creases. Unfold any two adjacent panels.
Check if the paper lid suits the box after forming its sides. And we are finished! Proceed to the following tutorial.
How to Make a Classic Box With lid for Beginners?
Step-1: Base Folds And Creases
Follow the base creases and corner folding steps as we did with the origami box. Now, pleat one-third of the pattern along any side.
Fold the opposite side of the 1/3-folded pattern and unfold it.
Step-2: Forming The Sides.
Fold the remaining two sides of the current pattern. Unfold any two corner flaps and align the corners of the two folded flaps with the center of the way.
Fold in the diagonal pleats and unfold the two folded sides.
Step 3: Forming The Side
Fold in the adjacent corner flap and align the flap’s triangle end with the bottom of the box.
Let’s now focus on the contrary side. It would help if you folded up the opposite side but not tuck it in. Make this side the box’s cover.
How to Make a Spiral Closure Box With lid?
Step-1: Base Folds And Creases
Follow the base creases and corner folding steps as we did with the origami box. Unfold the folded corners.
Now, fold any one of the corners to the opposite corner’s crease.
Step-2: Base Folds And Creases
Fold and crease each of the four sides individually. The current sheet should contain sixteen square grids in the center.
This section is complex. Observe the two yellow spots on the page. Create a fold between the dots. The dots are positioned on the corners of the squares of the crease grids; they are not arbitrary.
Step-3: Side Creases
Form individual creases between the dots on all four surfaces. Then, fold up two opposing sides along the initial creases of the corner flaps.
Fold up the diagonal pleats on each of the four sides.
Step 4: Form The Sides
Now, we will focus on one corner at a time. Bring any two sides adjacent and ensure they are at 90-degree angles. Tuck in the short creases that were created in the previous phase.
Fold the sides up and fold the short creases in individually. Now, let’s close the top by folding the four panels together.
Step 5: Closing The Top
Flatten any one flap to begin the closure process. Fold the second flap under the first and the third under the second.
To close the box, fold the last cover over the first and under the third. And that is it!
Tips For Beginners To Fold Perfect Paper Boxes
- If you’re experiencing difficulty crafting origami boxes, consider the following advice.
- Use craft papers that are light or medium-light for small boxes and cardstock for large containers.
- If you wish to practice creating square origami boxes, use a square sheet to create essential square origami boxes.
- Initial base folds must be executed precisely.
- If you need more confidence with free-hand folding techniques, use a ruler to measure as you fold.
Creating a paper package with a lid is an inventive and helpful activity. Begin by constructing a rectangular base and a slightly more extensive cover. After folding along the lines and securing the edges, presto! You can access a customizable paper package with a lid ideal for gifting or storing small items.
Thank you for reading…..