Want to create a paper bag, unlike the standard brown paper bag? You can always make your paper purse using old magazines, newspapers, or craft paper. As a gift, an art piece, or a fun endeavor, you can create one that is more durable or decorative.
Things Needed
- Wrapping paper
- Scissors
- Scotch Tape
- The hole cutter
- Ribbon
- Gift tag
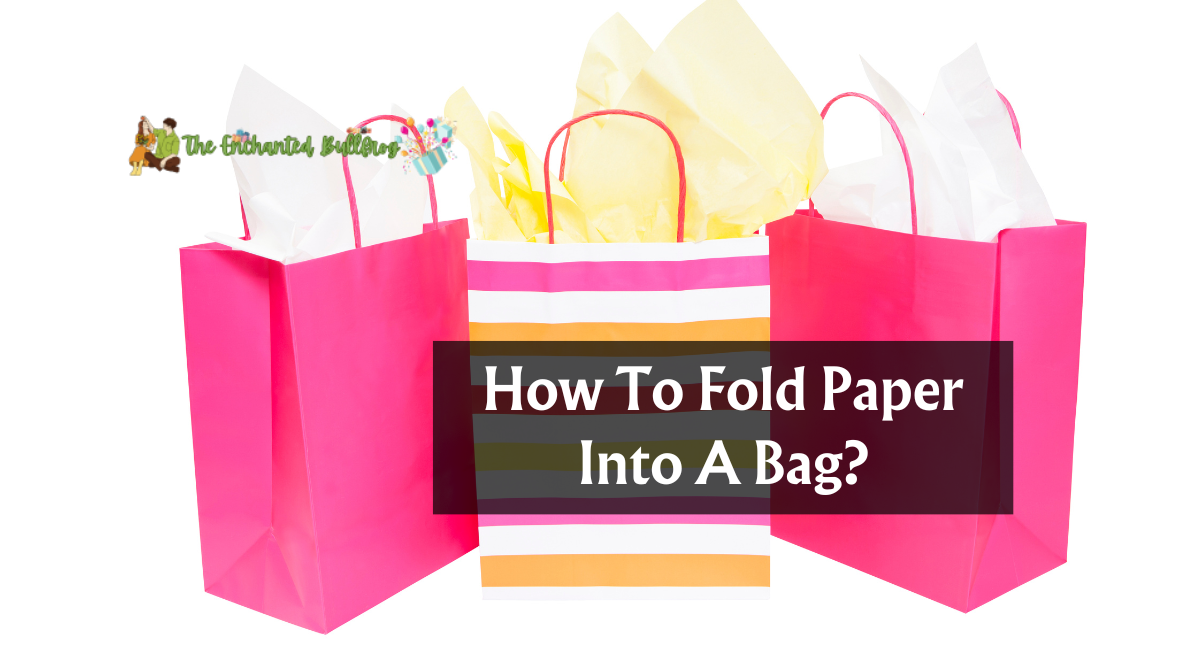
How To Fold Paper Into A Bag?
Here are the methods to create a paper bag:
Part 1: Decorating Your Paper Bag
1. Select and collect your materials. Depending on the type of paper bag you wish to create, you must consider its desired appearance, durability, and whether or not it will have a handle.
- You will require scissors, adhesive, a ruler, and a pencil to construct the bag.
- For this project, colored or patterned craft paper is excellent. The bag’s sturdiness is maintained by its sturdier material, allowing it to carry more weight. Craft paper is available in numerous patterns and hues.
- If you have something delicate in mind, consider using wrapping paper or newspaper.
- A narrow length of rope or ribbon can serve as a handle.
- Gather materials such as stencils, feathers, glitter, paint, coloring markers, and crayons to decorate your bag.
2. Cut a sheet of paper to 9.5 by 15 inches (24 by 38 centimeters). Use a ruler to determine the dimensions and a light pencil to trace the shape using a stencil. Or you can cut any size rectangle.
- Utilizing the paper’s inherently straight edges will save you time. If your page is in the correct dimension, cut your paper bag from a corner rather than the center of the material.
3. Embellish your purse. In some instances, it is simpler to decorate a bag before assembling it. If you are creating a pattern or painting the bag a different color, decorating with a flat piece of paper is more superficial to ensure that the design and color are consistent throughout.
- Do not embellish both sides of the paper. You can decorate both sides if you wish to display an entertaining pattern inside the bag or if you wish to conceal unattractive materials, mainly if you are using newspaper.
- You may embellish your purse with sequins, lace, or origami crafts.
Part 2: Assembling Your Paper Bag
1. Place the paper cut out in front of you on a flat surface. Place it in “landscape” orientation, with the long sides facing up and the short sides facing left and right.
If your paper has been decorated, ensure the decorations are dried and face down.
2. Fold the paper’s bottom edge 2 inches (5 cm) and crease it sharply. When finished, unfurl. This extremity will eventually become the bag’s base.
3. Determine the center of the upper and bottom edges. To accomplish this, you can use a ruler to calculate the center points or fold your paper to locate its center. Three elements require marking:
- Maintaining a landscape orientation, pinch the top and bottom of the would-be pleat to indicate the center of each long side. Mark these areas lightly with a pencil.
- Mark the paper at a distance of 3.5 inches (9.5 cm) to the left and right of each center point. You should have six marks: three in the center of one lengthy edge and three in the center of the other.
4. Fold the bag’s sides into position. Maintain the landscape orientation as you fold the sides as described below:
- Fold the right side of the paper along the central pencil line. Once the fold has been correctly creased, unfold the paper. On the reverse, repeat the opposite.
- Reverse the paper, refold the left and right sides towards the center, and adhere them where they overlap. Fold along the same lines as before; remember, you will invert the folds. Allow the glue to dry thoroughly before proceeding to the next phase.
5. Flip the bag so that the adhesive side is facing down. Ensure that one of the open extremities points in your direction.
6. Create a faint accordion effect by folding the side creases inwards. You will construct the bag’s sides to open into a rectangle.
- Measure approximately 1.5 inches (3.8 cm) inwards from the left side of the bag using a ruler. Mark this lightly with your stylus.
- Pull the left side crease of the bag toward the bag’s interior. Repeat until the mark you made with your left hand in the previous step rests on the paper’s outer edge as it bends.
- Fold the paper to align the pencil mark with the newly folded edge. Try maintaining symmetrical top and bottom edges as you press the form down.
- Iterate on the right side. When finished, the bulk should fold inwards on both sides, similar to a grocery bag.
7. Get the bottom of the container ready. To determine which end is the bottom, locate the crease lines you created when folding the bag that indicates the bottom. Keep the container flat for the time being and prepare the base:
- Fold and secure the bag’s base with adhesive. After determining where the bottom of your bag is, assemble the bottom:
- Along this line, fold the bag 4 inches (10 cm) from the bottom and crease it.
- Maintaining the bag’s flatness, hold open the bottom of the bag. The inwardly flaring folds should unfold to create a square edge. Each side of the envelope should contain a triangle of folded paper.
8. Sew the underside of the bag together. You will fold a few sides to the center, utilizing their triangular shape to ensure the bag’s base is assembled uniformly.
- Completely fold down the top and bottom sides of the open, square-shaped bottom. As a guide, use the exterior edge of each interior triangle. When finished, the bottom area should have eight sides, like an elongated octagon, as opposed to four sides as before.
- Fold the bottom section of the “octagon” toward the center of the bag’s bottom.
- Fold the top section of the “octagon” toward the bottom center of the bag. Now, the bottom should be folded closed precisely; glue the edges where they overlap and allow to dry.
9. Rip open the package. Ensure the bottom is entirely sealed, and the glued edges have no gaps.
10. Insert your handles. You can use ribbon, rope, or string to create the handles, or you can leave your bag without handles, but handles are more rigid and take more time.
- Make two openings at the top of your bag using a hole puncher or pencil while the lid is closed. If you punch holes too close to the bag’s edge, the weight of the bag and its contents could damage the handle.
- Reinforce the openings by lining their edges with glue or transparent tape.
- Slide the ends of your handle string through the openings and tie a knot on the inside of your bag’s handle string. Ensure the knot is sufficiently large to not slip through the door. To enlarge an existing knot, you may need to secure a second one on top of it. The tie stabilizes the handle.
Making a paper bag is a straightforward origami craft. Begin by horizontally folding a sheet in half, then fold each side to the center. The upper edges are folded to form flaps, and the bottom edge is folded. Create a functional paper bag by opening, collapsing, and folding in the sides.
Thank you for reading…..