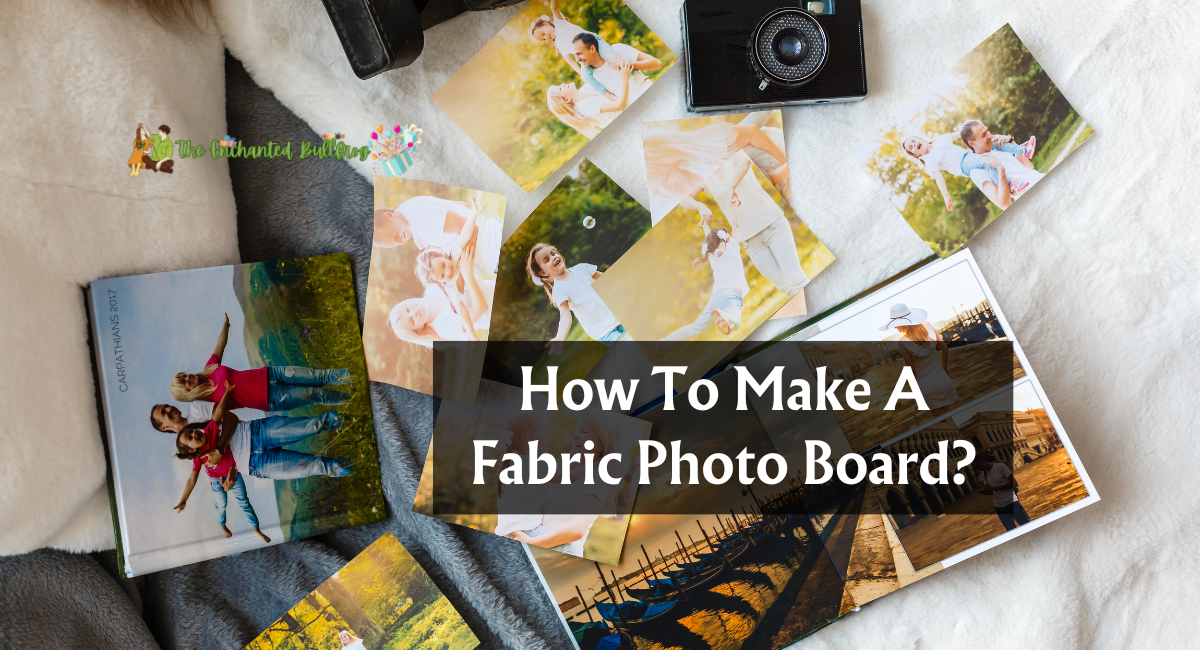
Almost everyone could benefit from more organization in their lives. A memo board is an excellent method to corral loose notes, receipts, and calendars. These quilted ribbon boards, also known as French Memo Boards, are a fashionable alternative to conventional bulletin boards that still provide great functionality. So, how to make a fabric photo board?
The benefit of making your memo board is that you can tailor the design to your specifications. You can make it as large or tiny as you desire and add more or less ribbon for displaying large photographs or small notes. There are numerous ways to complete this endeavor, and we will demonstrate one of them.
How To Make A Fabric Photo Board?
A photo board is the ideal solution if you’re looking for a way to remain organized and showcase your ideas. Not only is a fabric memo board aesthetically pleasing, but it is also relatively simple to make. Selecting an intriguing floral fabric and adding nailhead trim creates great visual interest and almost functions as a work of art.
Gather Your Materials:
Things You Must Have
- Corkboard
- Batting, slightly larger than your corkboard
- The fabric is also slightly larger than your corkboard.
- staple Gun
- Hardware for Hanging corkboard
- Scissors
- Measuring tape
- Nailheads
- Hammer
Direction
Here are the steps to make a fabric photo board:
Step 1
Place your fabric with the incorrect side facing up on a large, flat surface. Next, place the batting on the material. Then, place the reverse of the corkboard on top of the fabric and batting. Before you begin, working on a carpeted surface or a large blanket is best to avoid damaging the surface underneath.
Step 2
Fabric and batting are stapled to the rear of the corkboard’s wooden frame. You can pin them individually or simultaneously. However, simultaneously fastening both sections will reduce the number of staples on the back of the frame. Be mindful of pulling the fabric taut as you progress around the circle.
Step 3
Utilize scissors to cut away excess fabric and insulation.
Step 4
Attach the mounting hardware to the back of the board, ensuring that both surfaces are parallel.
Step 5
Flip the board to the front and begin nailhead trim installation. This board’s trim was oversized and spaced about an inch and a half apart. Pierce the nailhead through the corkboard or the timber frame. If you position them on the wood frame, you must tap the head with a mallet for them to pierce.
Step 6
Check to see if the shank of your nailhead trim is protruding through the rear of the board by inverting it. It was protruding through the back of this board.
Step 7
If you observe that the shank of the nailhead trim is poking through the back, use some leftover cardboard as padding to prevent the sharp points from damaging the wall.
Step 8
Mount the board to the wall. Determine where you intend to display the panel. Generally, you should hang artwork approximately two-thirds of the way up the wall or at eye level. Have someone hold the board against the wall at the desired location. Then, designate the wall where the hook is located on one side. Next, measure the distance between the two pins on the rear of the board. Using this measurement, make a second mark on the wall, beginning at the first mark and measuring horizontally across the border.
Use a laser level to ensure that both points are level at this juncture. If you do not have a laser level, you can also measure from the floor to each issue, ensuring that the distance between each mark and the base is the same. These hooks from the hardware store, depicted below, are ideal for mounting something similar. They are simple to operate and can support considerable weight.
Step 9
Start collecting images that inspire you!
How To Attach Fabric To Foam Board?
If you use a cork board to keep track of your schedule and essential notes or display your child’s schoolwork or artwork, then you know how unattractive a cork display board can look on your wall. One solution is to create a fabric-covered foam display board that is equally functional but more visually appealing on the wall. You can even choose the fabric that coordinates with the rest of your room’s design.
Things You’ll Need
- Foam Sheet
- Cotton Fabric
- Cardboard
- Measuring tape
- Scissors
- Stapler
- Decorative frame
Direction
The steps for attaching fabric to foam board are as follows:
Step 1
Cut a foam sheeting rectangle measuring 8 inches wide by 10 inches long. Foam sheets are available in every craft store.
Step 2
Create a cardboard rectangle measuring 8 inches wide by 10 inches long. Use cardboard from old crates or purchase cardboard sheets from a craft store.
Step 3
Cut a cotton fabric rectangle measuring 12 inches wide by 15 inches long. Select a fabric pattern of your choosing.
Step 4
Place the rectangle of polystyrene on top of the rectangle of cardboard. Center and drape the fabric rectangle over the polystyrene and cardboard. Remove any creases from the fabric by smoothing it out.
Step 5
Fold the excess cloth over the sides of the styrofoam and cardboard rectangles and staple it to the rear of the form.
Step 6
Remove the matting from a decorative frame and dispose of the frame’s glass.
Step 7
Insert the foam covered in fabric into the decorative frame and reattach the backing. It would be best if you hung the framed display board for use.
Making a fabric photo board is a simple do-it-yourself endeavor. Add extra cushioning by stretching fabric over a foam board and securing it with staples. Attach your finest photographs with decorative pins, and you’ll have a charming and customizable display for your most cherished memories in no time.
Thank you for reading…..