Tutu are ideal for small children participating in dance or dressing up as ballerinas for fun. Even adults can enjoy adding a tutu to their attire. However, purchasing a pre-made tutu can be costly, and you may need help to locate the desired color and design. With some tulle and elastic, you can create the tutu of your child’s (or your own) fantasies while saving money. Make a tutu for your infant, yourself, or as a one-of-a-kind handmade present!
Easy Tutu Skirt Tutorial
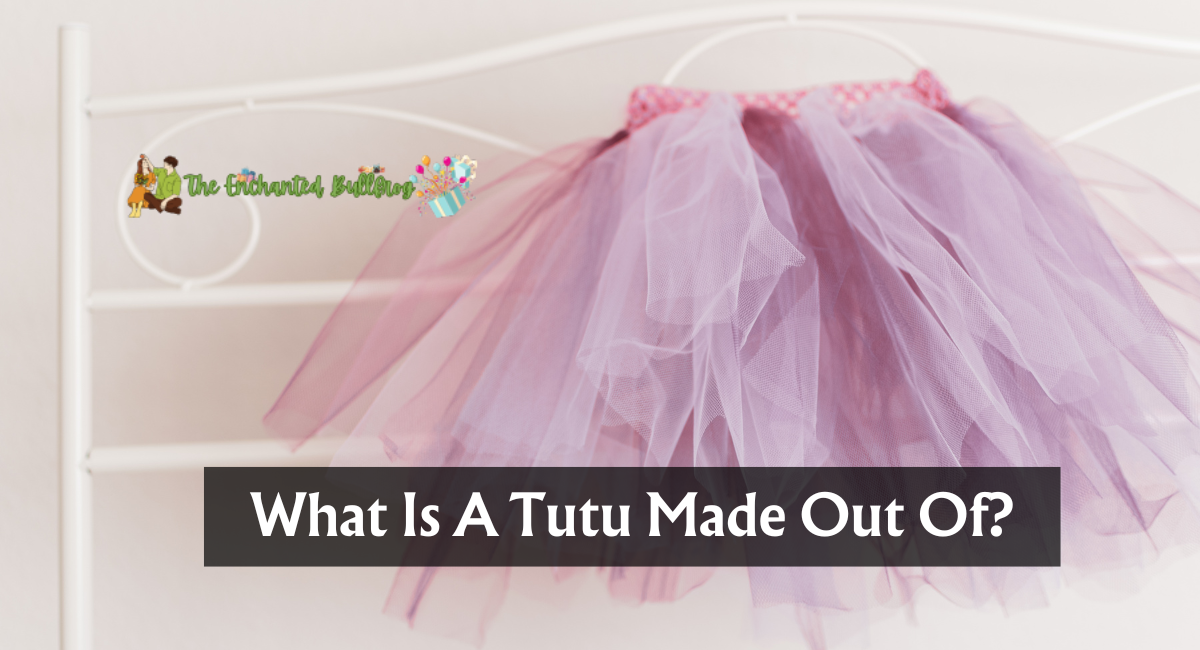
This lovely skirt is adorable as a flower girl dress, a Halloween costume, for aspiring ballerinas, or simply for amusement. This classic tulle tutu requires almost no sewing, making it an ideal project for beginning artisans.
Tutu Skirt – Materials For Making
- 1 yard of soft fabric
- cotton/satin fabric – for the elastic waistband draped in fabric
- ribbon of satin, velvet, or grosgrain (optional)
- 1-inch wide elastic
- Sewing machine
- Needle for sewing machines/jersey/ballpoint
- matching thread
- fabric scissors
- sewing pins
- sewing gauge
How To Make A Tutu Made Out Of?
Here are the step-by-step tutorials to make tutu:
Step 1 – Cut The Fabric Pieces
I utilized two 118-inch/300-centimeter-wide and 10-inch-tall tulle layers for my tutu skirts.
If you can’t locate a soft tulle 118 inches wide, that’s not a problem; you can join fabric widths to create an extra-wide panel. Just be sure to use a soft tulle fabric that comes in length.
If your tulle cloth is wrinkled, you can iron it directly; however, you cannot use a hot iron, as the tulle will instantaneously melt. Instead, use the lowest available heat setting.
Cut a piece of fabric (hip size plus 4 inches) broad and 3 1/2 inches tall for the waistband.
If you wish to alter the size of this skirt, the 118-inch width of the tulle layers should accommodate a girl with a waist size between 1T or 2T (standard waist size at this age is 20 inches) and 10T (standard waist size – 24 inches). Adjust the skirt’s length, and it will fit perfectly.
Step 2 – Prepare The Waistband Casing
Cut the waistband fabric strip to be 24 inches long and 3 1/2 inches wider. Thus, the casing will be suitable for inserting a one-inch elastic, neither too narrow nor too broad.
Now, sew the short ends of the waistline piece together to form a tube.
Step 3 – Sew The Back Seam
Take one of the layers of tulle and stitch the side seam. Repeat for the second layer of tulle.
To prevent puckering when stitching tulle seams, replace your needle with a new ballpoint/jersey needle of size 70/10. Use a brief straight stitch and reduce the speed of your sewing machine to prevent puckering.
Here are additional suggestions on sewing tulle fabric with a standard sewing machine.
Step 4 – Gather The Tulle Layers
Maintain the longest possible stitch length and run a basting needle through each of the two layers of this skirt.
Do not backstitch and leave lengthy thread tails at the beginning and end of each row.
Are you apprehensive about this action? You ought not to be. Yes, you will butter approximately 236 inches (600 cm), but I promise it will be simple.
For the skirt to fit readily over the hips, the skirt opening will be hip measure plus four inches. Therefore, the length of my gown is 24 inches (20 + 4) inches.
Gather the tops of all tulle layers to suit the waistband casing. Grab the thread for the bobbin with one hand and the tulle with the other.
Continue till the gathers have even spacing and reach the desired length, in my case, 24 inches, and then secure a knot with all the threads.
Step 5 – Sew The Tulle Layers Together
Place one tulle layer within the other and sew them together, with the incorrect side of the first layer facing the right side of the second layer.
Step 6 – Attach The Waistband To The Skirt
Right sides together, pin the waistband to the tulle skirt, and stitch a 1/2″ seam allowance.
Step 7
To accommodate the girth of the elastic, fold the waistband to a width of approximately 1 12 inches and fold the raw edge under by 1/2 inch. Utilize needles and a needle gauge for this phase.
Stitch approximately 1/8″ from the bottom edge of the waistband casing, leaving a small aperture for the elastic. Backstitch both ends of the material.
Step 8 – Insert The Elastic And Finish The Waistband
Cut an elastic band 1-2 inches shorter than the waist measurement; it should fit comfortably; test it on first.
Utilizing a safety pin, insert the elastic into the casing. Ensure that the elastic inside the case is not contorted. Overlap the elastic ends, sew them together, and close the tiny waistband gap. Beginning with the needle in the down position, proceed steadily. You must extend the elastic slightly as you sew, but avoid stitching directly into the elastic.
If you want to secure your elastic to keep it from bending, stitch across it vertically at the rear seam.
Step 9 (optional) – Add A Ribbon Trim.
Seem the desirable ribbon to the tulle skirt’s outer bottom edge as closely as possible. The ribbon tends to curl after it has been stitched, which adds volume to the dress. Pay close attention to how the golden ribbon coils, as you want the skirt to curl in the proper direction.
Try to align the ribbon’s bottom edge with the tulle’s bottom edge, and select a thread that matches the ribbon.
It is preferable to use a lengthier straight stitch to avoid creating too many ribbon holes—a Backstitch at the beginning and conclusion of the project.
Sew until you reach your starting point, and when you do, slightly overlap the ends of the ribbon and stitch them in position vertically.
In addition, you can embellish the hemline with a ribbon bow.
A tutu is a ballet costume composed of lightweight tulle or net layers. Its ethereal appearance accentuates a dancer’s movements, creating the illusion that they are drifting on stage. The tutu exemplifies the artistry and beauty of classical ballet because it is designed for grace and suppleness.
Thank you for reading….